We don't care if it's warm out or not, we are diving into these Ice Cream Wafflewiches
- Prep Time: 30 minutes
- Total Time: 50 minutes
- Servings: 6
Waffles:
- 1 1/2 cups Original Bisquick® mix
- 1/4 cup sugar
- 2/3 cup milk
- 1 egg
- 2 tablespoons canola oil
- 1 teaspoon vanilla
Coating:
- 1 cup semisweet chocolate chips (6 oz)
- 1 tablespoon coconut oil
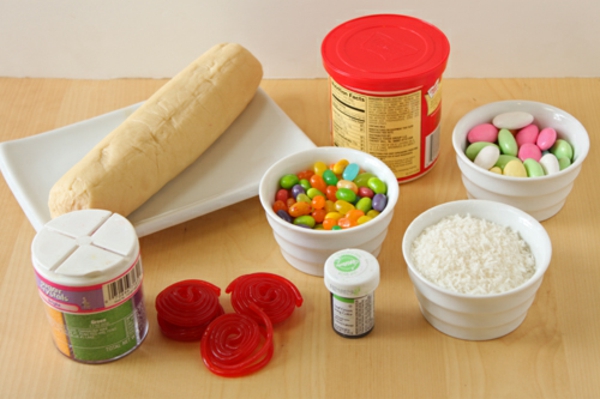
Filling and Garnish:
- Ice cream
- Toppings such as candy sprinkles or chopped nuts
Directions:
- 1 Heat waffle maker according to manufacturers’ instructions. Line cookie sheet with cooking parchment paper.
- 2 In medium bowl, stir together Bisquick mix and sugar. In 1-cup glass measuring cup, beat milk and egg with small whisk until well combined. Beat in canola oil and vanilla.
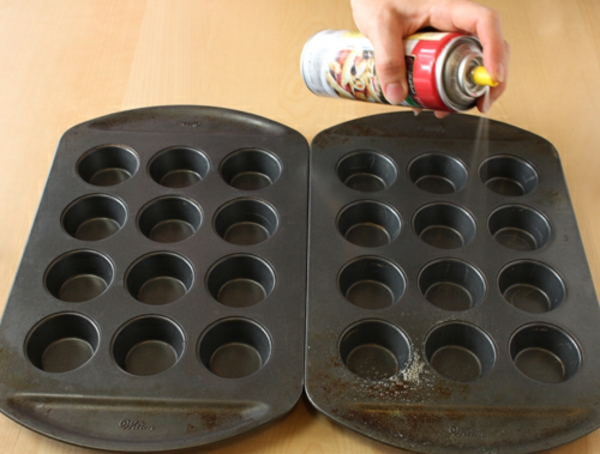
- 3 Spray waffle maker lightly with canola or olive oil cooking spray. Scoop about 1/4 cup batter into center of each waffle maker section; close lid. Bake until done (many waffle makers have a light or beep to alert you). Repeat with remaining batter. Cool waffles to room temperature. Place waffles on cookie sheet; freeze 15 to 30 minutes or until waffles and cookie sheet are cold.
- 4 Meanwhile, in medium microwavable bowl, microwave chocolate chips on High 30 seconds. Stir; repeat in 10-second increments until chocolate is melted. Stir in coconut oil. Place candy sprinkles and other desired toppings in shallow bowls or dishes.
- 5 Remove waffles from freezer. Dip each in chocolate; shake off excess. Dip or sprinkle with toppings; return to cold cookie sheet. Before coating hardens completely, move dipped waffle to sheet of cooking parchment paper or another spot to prevent pooling. Repeat with remaining waffles.
- 6 If necessary, place waffles in freezer to speed up hardening of chocolate. Once chocolate is hard, generously scoop ice cream on 1 waffle; top with second waffle to form sandwich. Serve immediately, or wrap and freeze for serving later.
Expert Tips:
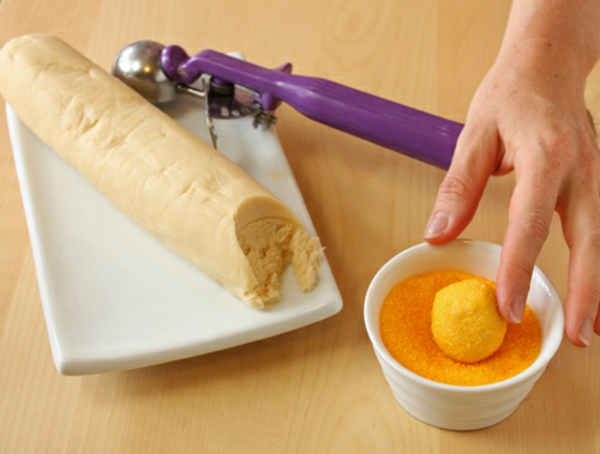
Since
these sandwiches are free-form, using a levered ice cream scoop to
scoop the batter ensures the waffles will be similar in size.
Freezing the waffles on the cookie sheet before dipping will make the chocolate set faster.
After dipping the cold waffles into the chocolate, return them to the cold cookie sheet and let them set a few seconds. Then move them to another spot, like a sheet of cooking parchment paper—this keeps the chocolate from pooling around the waffle.
Source: Bisquick.com